
Home · Applications · Floor over a crawl space
Insulating the floor over a crawl space.
Thermal insulation for the timber floor over a crawl space: Roof Optim or Roof Pro with diffusion downwards, Wolle between the joists and Floor Pro beneath the heated floor.
Technical content: Bogdan Ivănescu, graduate engineer, PhD candidate at the Technical University of Cluj-Napoca · updated on 16.10.2026
What it aims for and what you obtain.
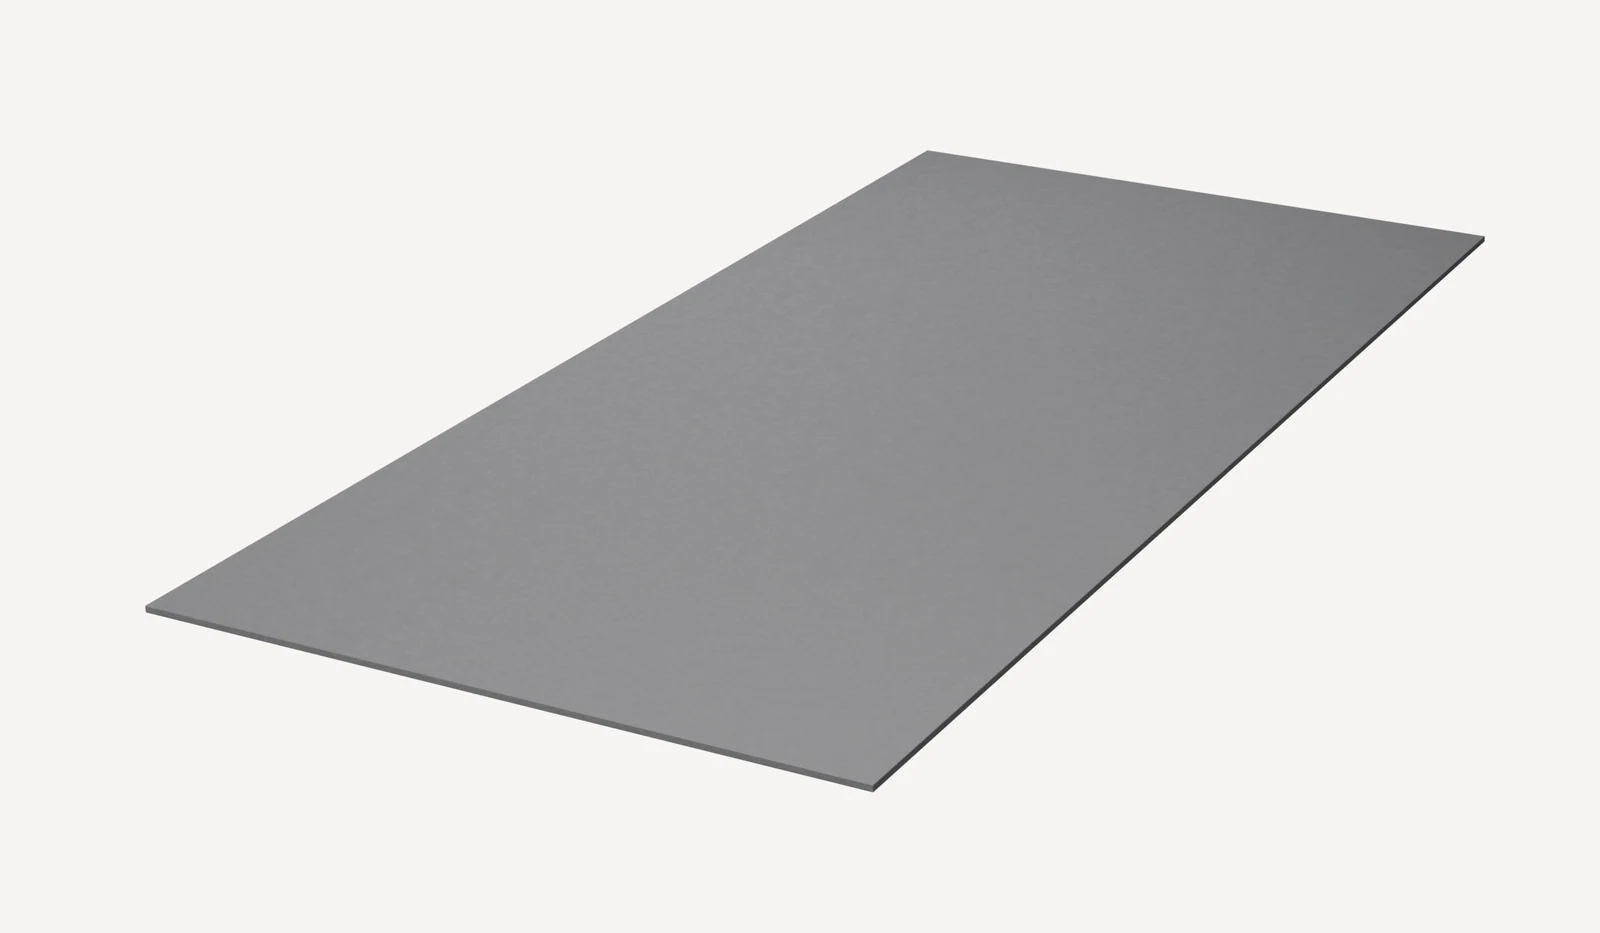
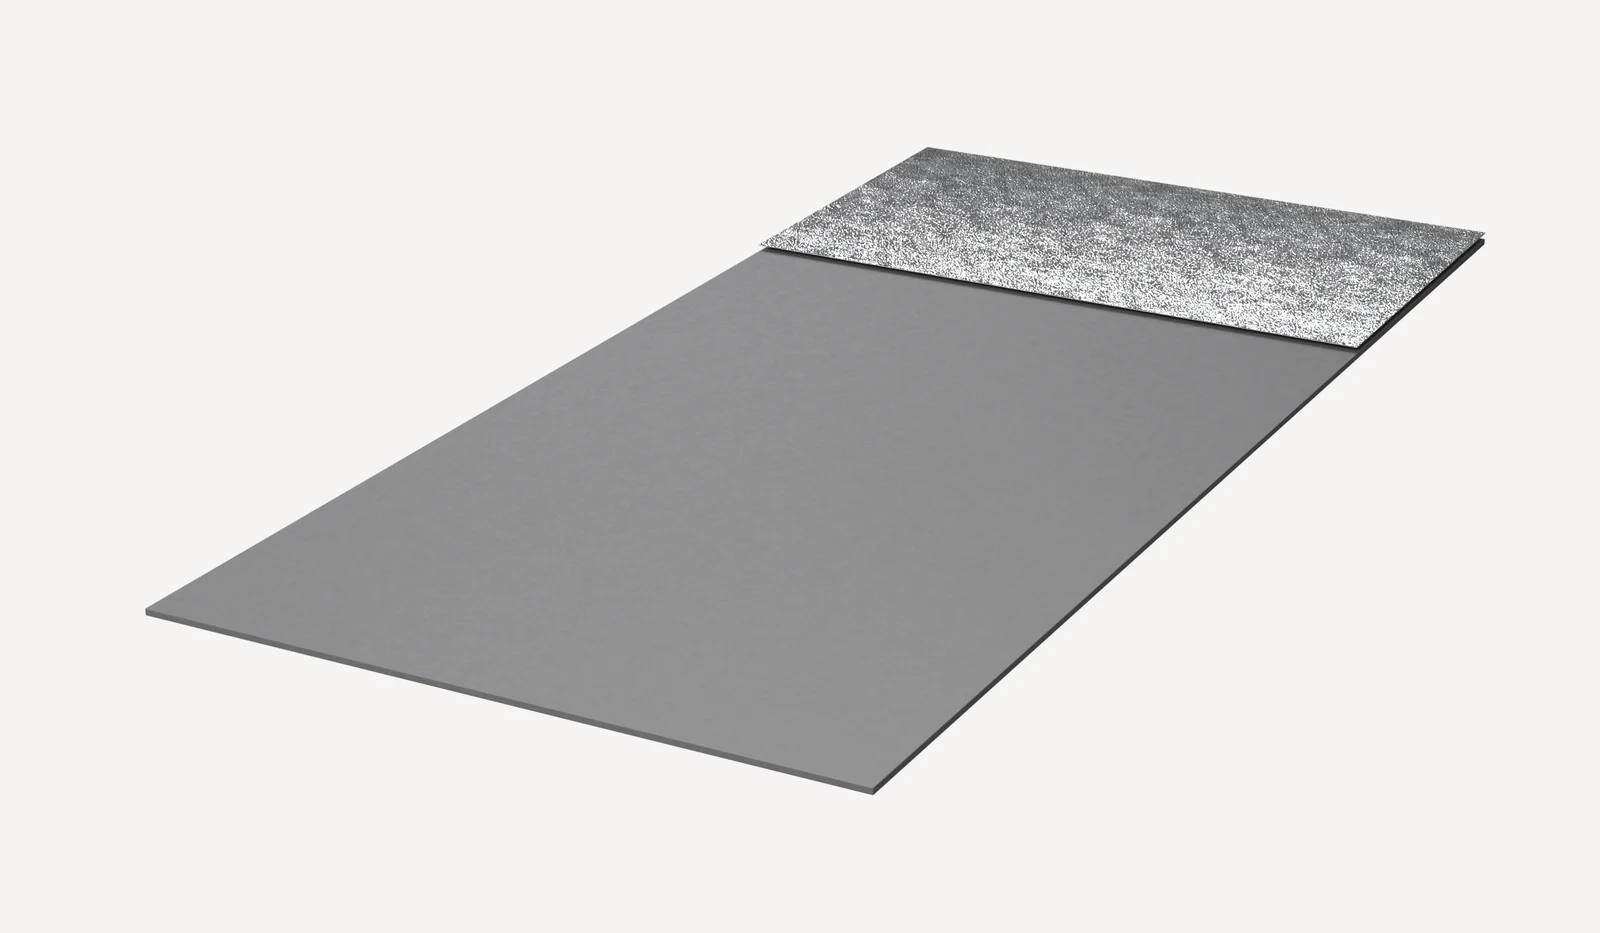
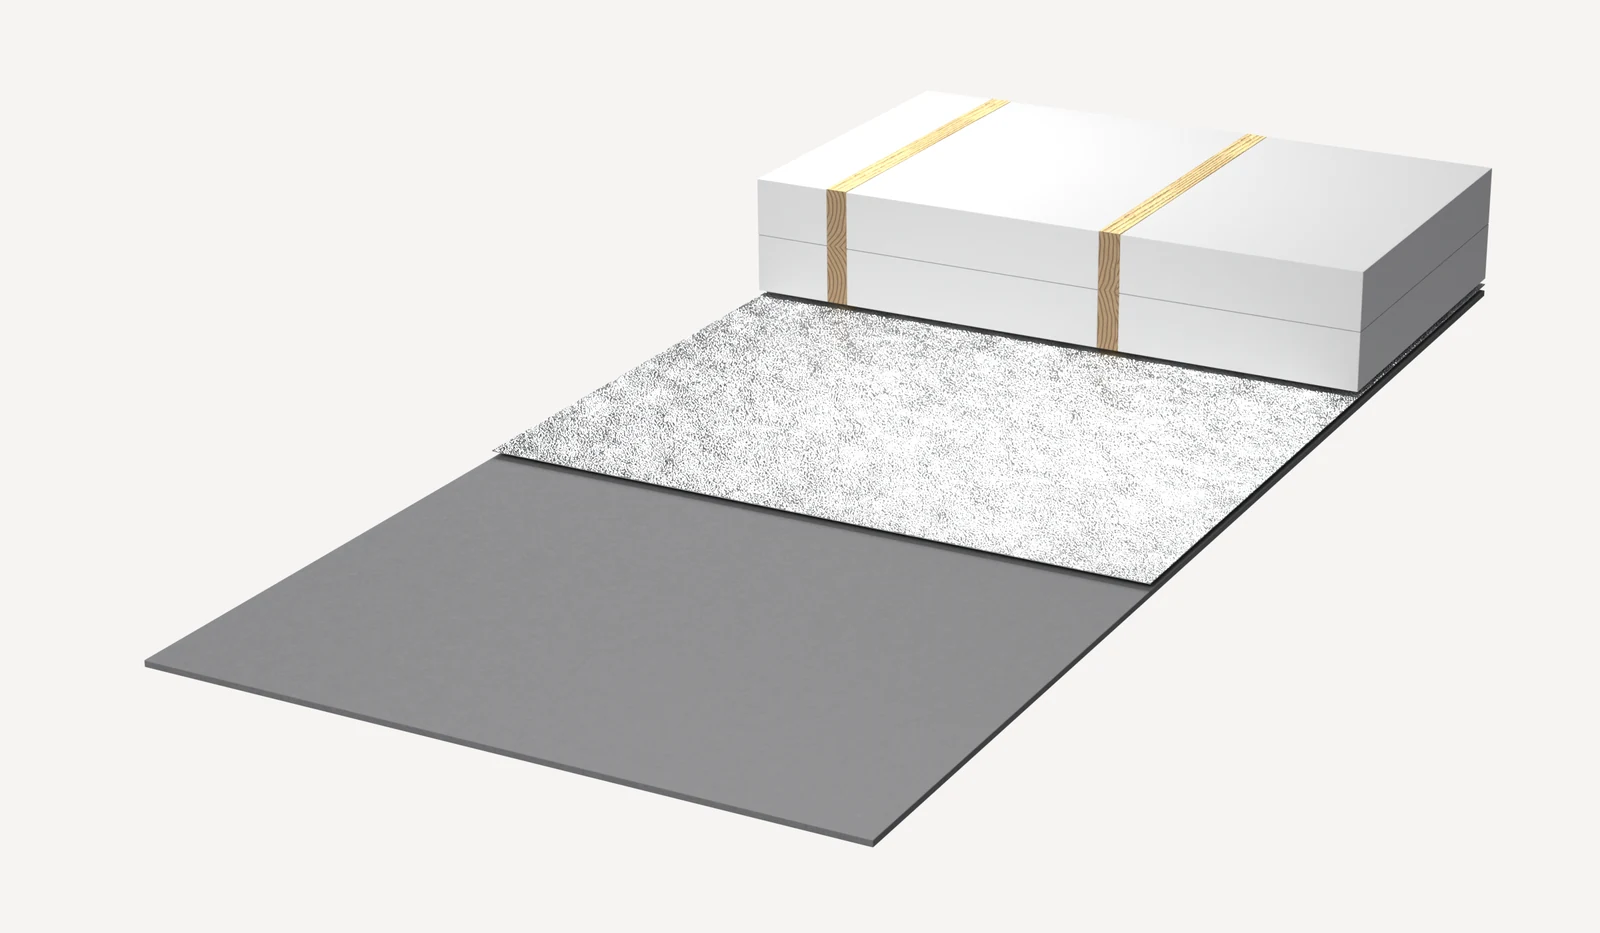
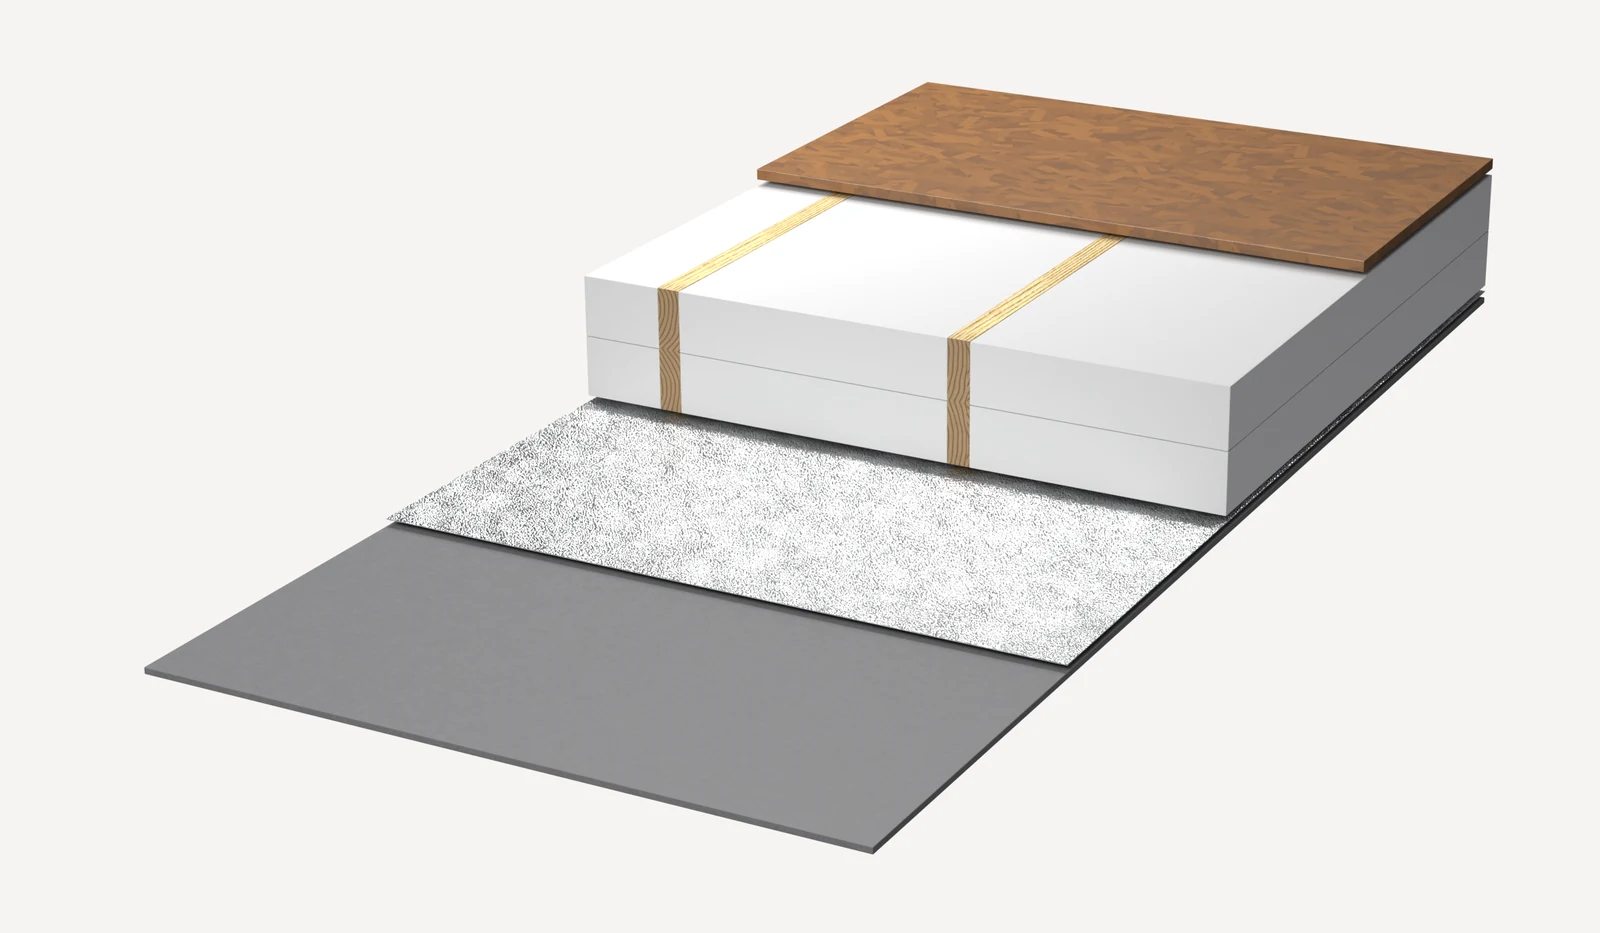
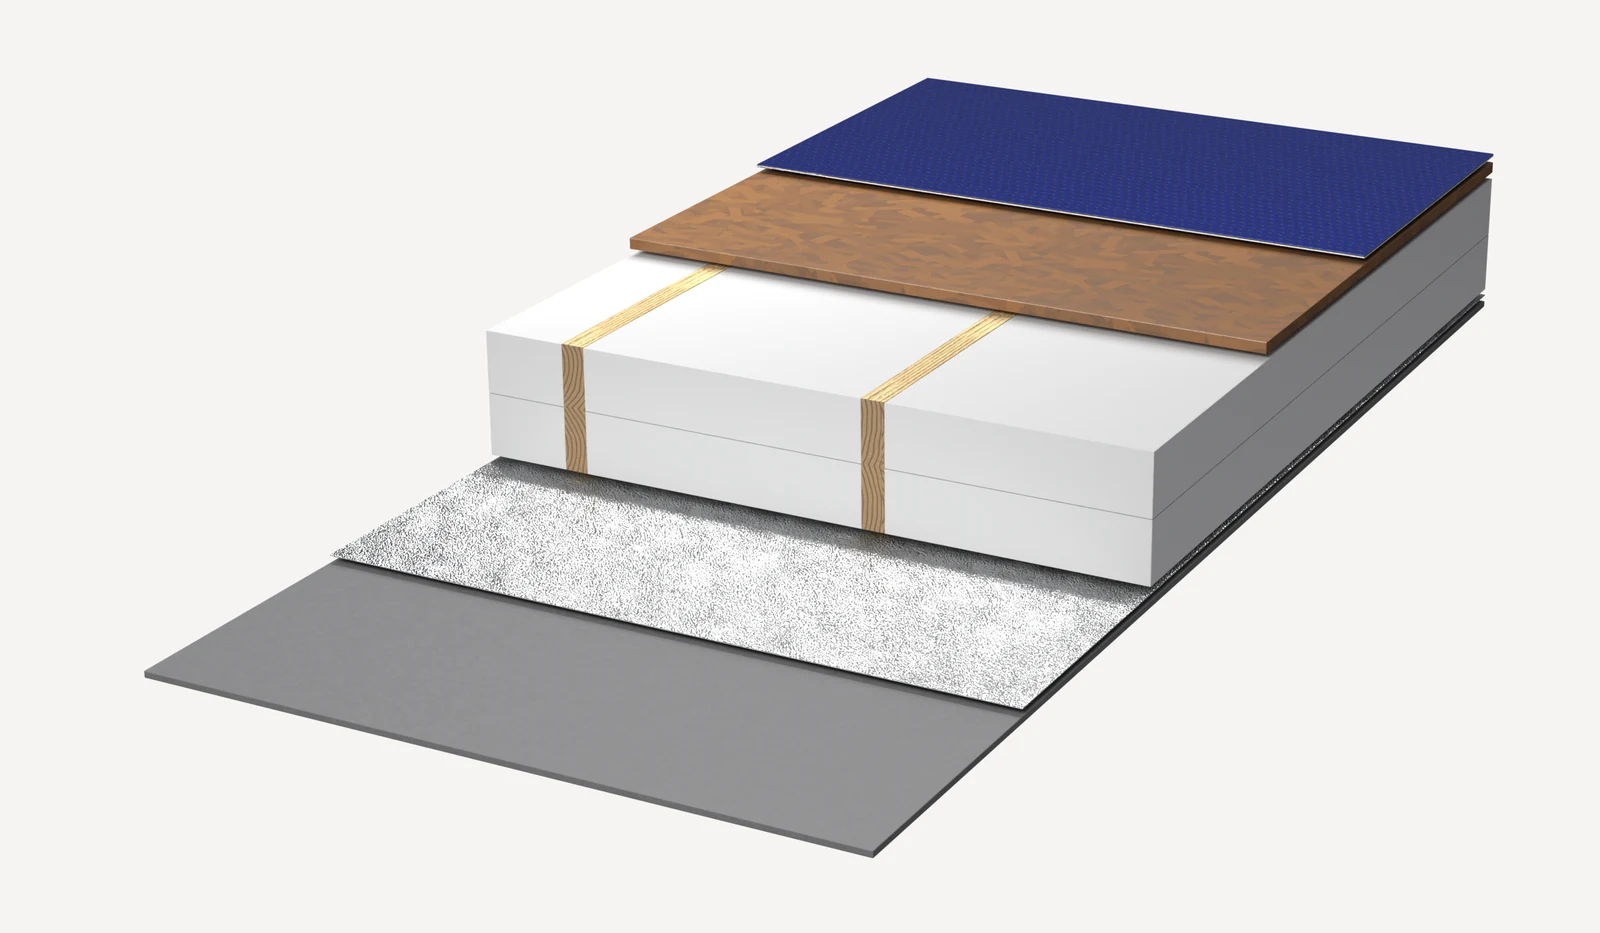
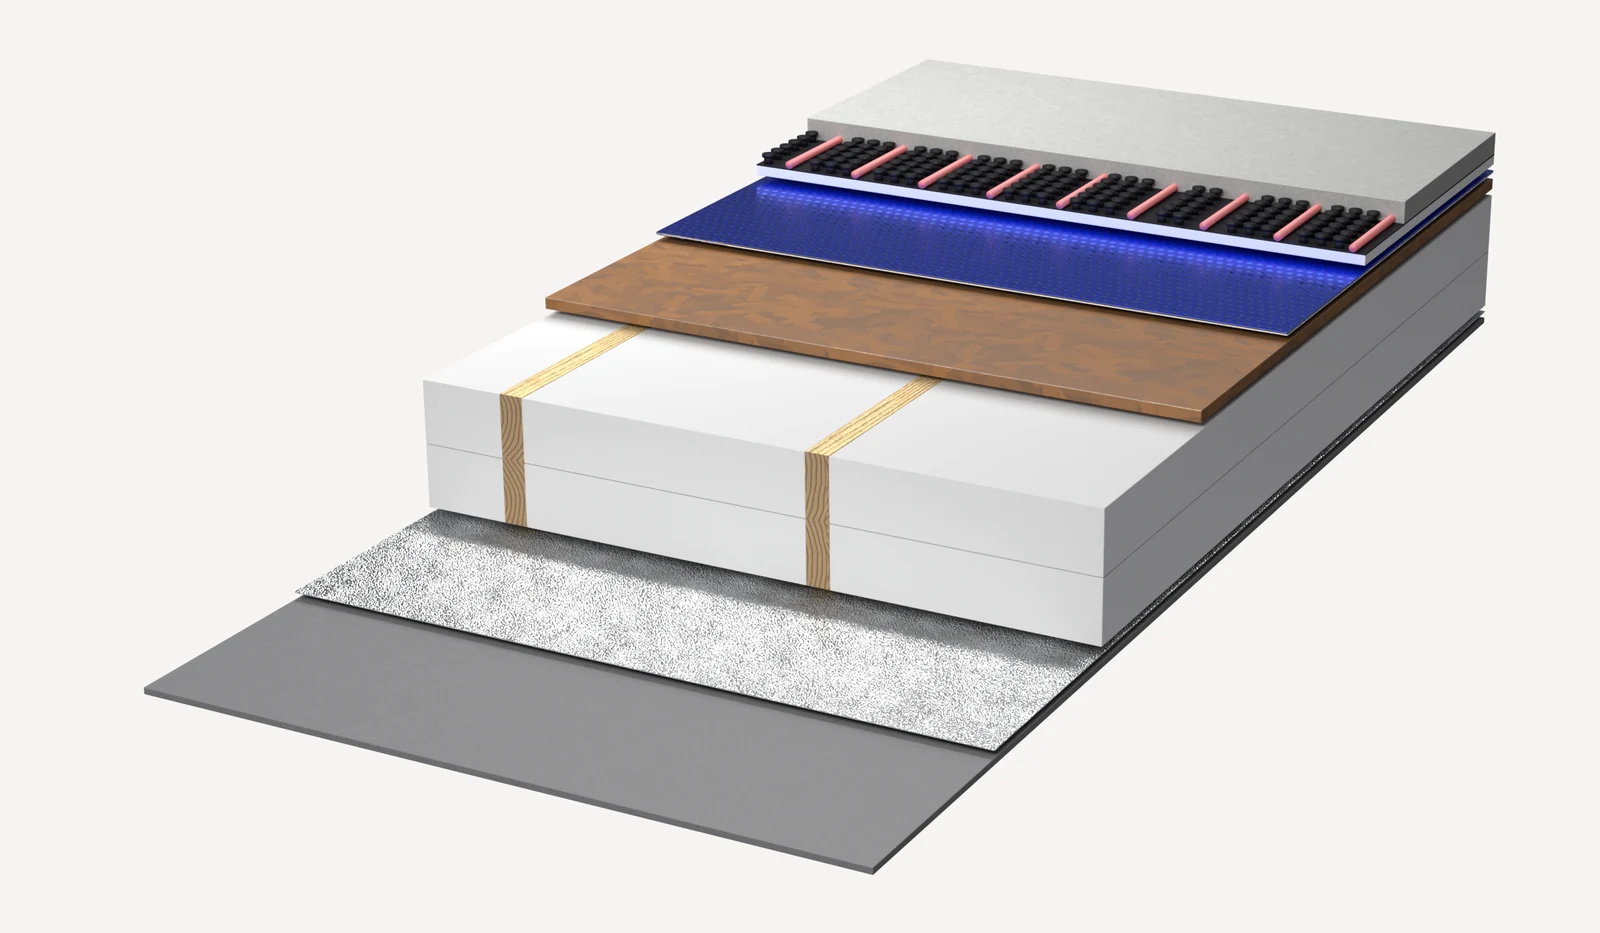
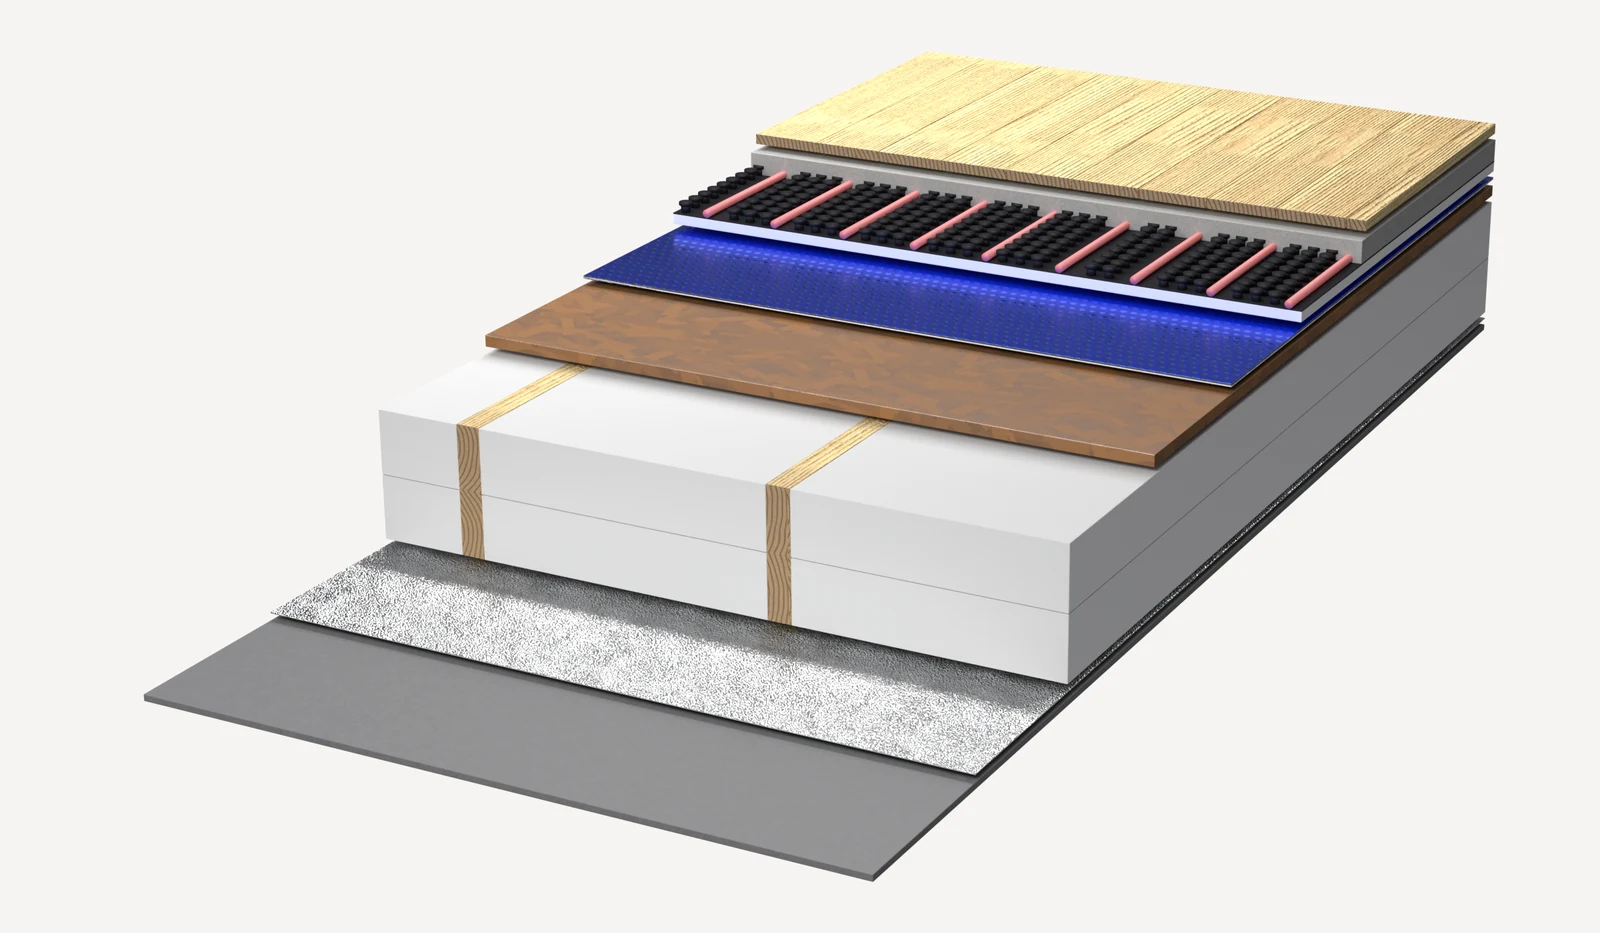
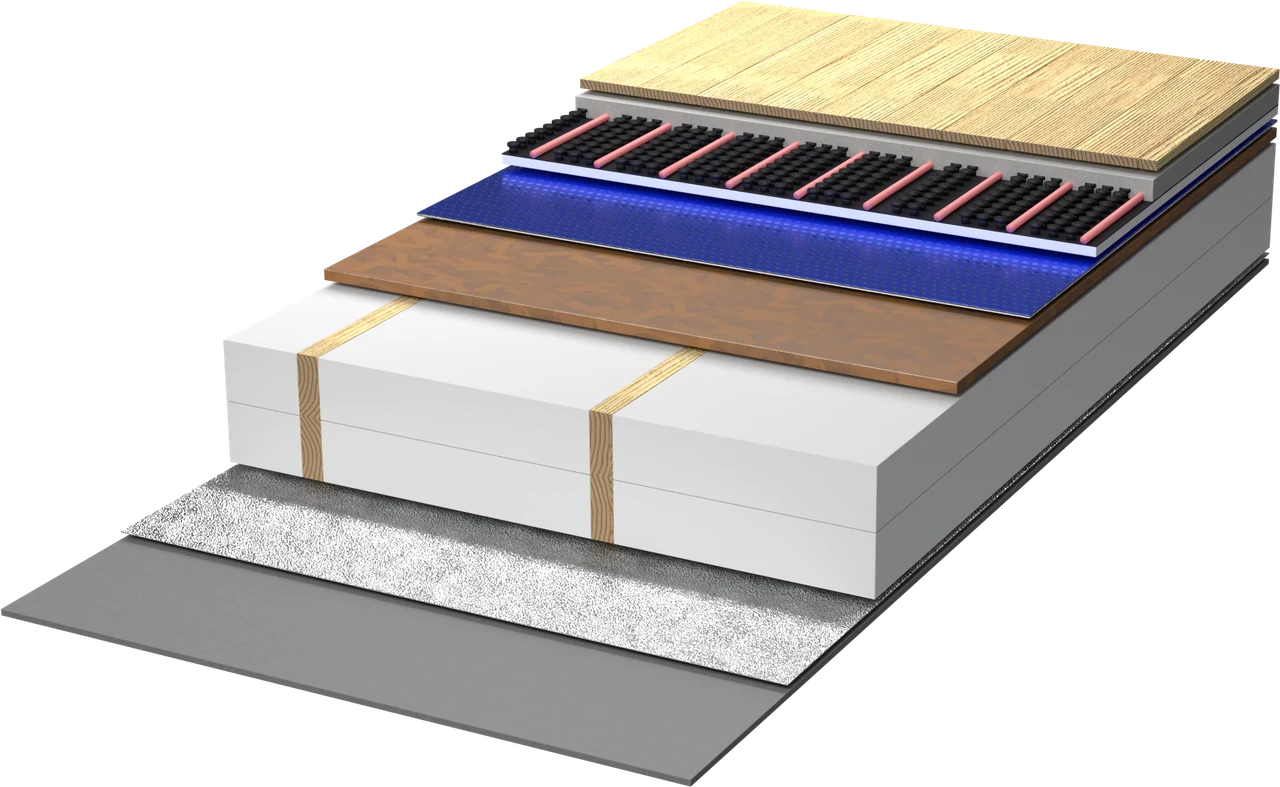
The floor is closed on the underside with a fibre cement board or with metal sheeting; we also recommend a wire mesh, as protection against rodents. Over it comes Roof Optim or Roof Pro, with diffusion downwards and the reflective faces towards the exterior. Wolle is installed between the joists, at the thickness and density of your choice. Above come the OSB or planks, Floor Pro, the studded panel with the heating pipe coil, the base screed and the finishes.
Fibre cement or metal sheet
It closes the floor on the side facing the crawl space. A wire mesh installed here protects the insulation from rodents.
Diffusion downwards
Roof Optim or Roof Pro is installed with the reflective faces towards the exterior, i.e. downwards, towards the crawl space.
Wolle between the joists
Choose the thickness and the Wolle variant: λ 0.038 or λ 0.035. With multiple layers, the 5 cm layer is installed first. The 5 cm layer adheres very well to the porosity of the substrate and requires no anchoring whatsoever; the 10 cm layer is then installed.
Floor Pro beneath the heating
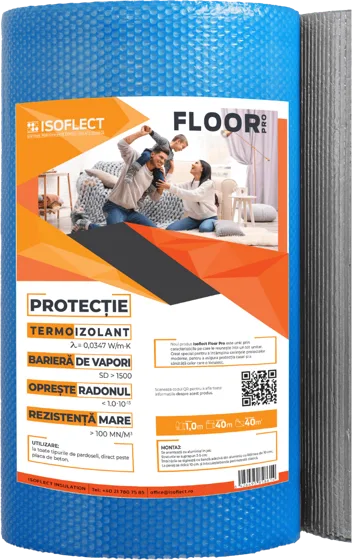
Unroll Floor Pro over the OSB or the planks, with the reflective face down. Over it come the studded panel and the heating pipe coil.
Intermediate floor between storeys
The joist floor between two inhabited storeys.
See the application →
Layer by layer.
From bottom to top.
- 1Fibre cement board or metal sheet; recommended with wire mesh against rodents
- 2Reflectiva Roof Optim or Roof Pro, with diffusion downwards
- 3Timber joists, with Wolle thermal insulation fibre between them
- 4OSB or planks
- 5Floor Pro, with the reflective face down
- 6Studded panel, heating pipe coil and base screed
- 7Floor finish
Installation steps.
Click on the central image to enlarge it.
Products for this application.


Warranty
- ✓Roof Optim: 15-year warranty, service life of over 30 years
- ✓Reflectiva Roof Pro: 30-year warranty, service life of over 50 years
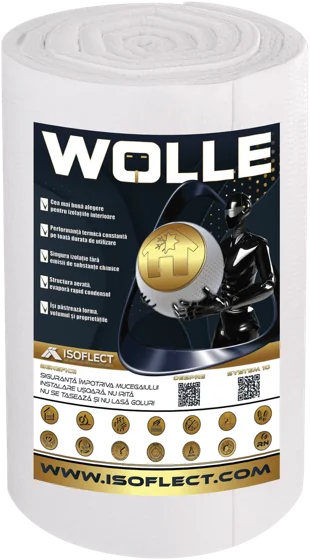
- ✓Wolle: 50-year warranty (interior)
- ✓Floor Pro: 10-year warranty
Sections and renderings.
Frequently asked questions
Which way should the reflective faces of Roof Optim or Roof Pro be oriented?
Towards the exterior, i.e. downwards, towards the crawl space. Diffusion takes place downwards.
Why wire mesh?
It protects the insulation from rodents. It is installed on the underside, together with the fibre cement board or the metal sheet.
Which way should the reflective face of Floor Pro be oriented?
Downwards, towards the OSB or the planks.
Required quantities for your surface area.
Enter the number of square metres you have for this application and see the required quantity of each product.
The quantities include 3% for wastage and are rounded up to whole rolls and packs.