
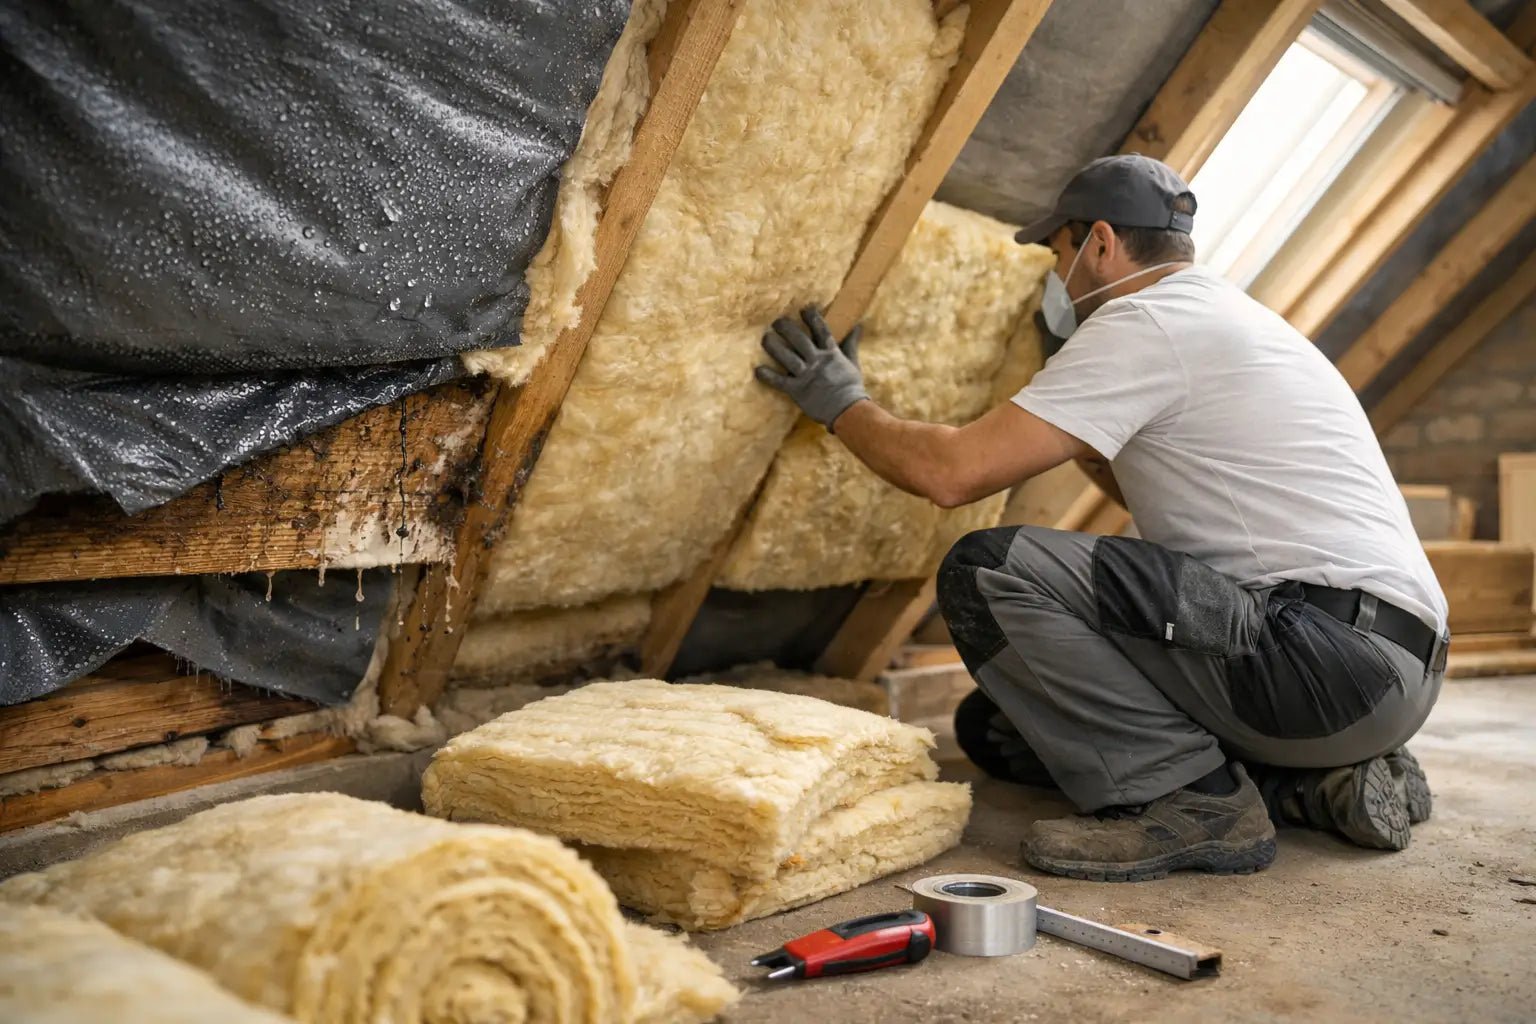
An attic can seem well insulated right after finishing, but the real test comes in the first winter, on scorching days, and after a few humid seasons. The most costly common mistakes in attic insulation aren't just about the chosen material, but about how all the layers work together: thermal insulation, membranes, sealing, the ventilation space, and the interior finish.
Effective insulation doesn't simply mean filling the rafters with a thicker material. It means limiting heat loss, managing indoor vapor, reducing the risk of condensation, and keeping the roof structure dry. When a single layer is installed incorrectly, the effect can show up as cold drafts, higher bills, mold, or even wood decay.
Why attic insulation must be treated as a system
The attic is a sensitive area of the house. It has sloped surfaces, many joints, penetrations for cables and installations, skylights, ridges, and wall junctions. Every detail can become a path for air, vapor, or water.
From inside to outside, a correct system must control warm, humid air, provide sufficient thermal resistance, allow the structure to dry in a controlled way, and protect the insulation from accidental leaks from under the roof covering. The exact layer order depends on the roof type, the climate, the roof covering material, and the existing construction solution. That's why copying a detail seen in another project can be risky.
Common mistakes in attic insulation that reduce performance
1. Installing without assessing the existing roof
Insulation doesn't fix a roof that has leaks. If the roof covering, flashings, chimney, or the underlay film allow water in, the thermal insulation material can retain moisture, and the wood can start to deteriorate.
Before installation, check the condition of the rafters, water marks, blackened areas, persistent damp smell, and the continuity of the protection under the roof covering. If the attic is already livable and access is limited, it's worth investigating the cause of any stain before closing the structure again with drywall. A local repair done in time costs far less than removing a new insulation system.
2. Choosing thickness based only on the space between the rafters
A common mistake is using only the space available between the rafters. If the structure allows only a certain space, that doesn't automatically mean that space provides the thermal level needed for comfort and reduced energy consumption.
Performance is assessed through the thermal resistance of the whole assembly, not just the thickness of a single material. What matters is the Lambda value, the actual installed thickness, the interruptions caused by the rafter wood, and the continuity of the insulating layer. Wood conducts more heat than thermal insulation materials, so each rafter becomes a partial thermal bridge.
A practical solution is supplementing the insulation between the rafters with a continuous layer on the interior side. This layer reduces thermal bridges and can improve comfort without any work on the roof covering. Still, the additional thickness must be calculated together with the position of the vapor control membrane and the usable space remaining in the attic.
3. The vapor control film installed on the wrong side
Water vapor comes from normal activities: cooking, showers, breathing, drying laundry. In the cold season, warm indoor air tends to migrate toward colder zones. If it reaches the insulation mass or the cold elements of the roof uncontrolled, interstitial condensation can occur.
The vapor control membrane is usually installed toward the interior of the heated space, on the warm side of the insulation. But simply having a film present isn't enough. Seams must be overlapped and taped correctly, edges must be sealed at walls and structural elements, and penetrations for cables, spotlights, or pipes must be treated with compatible accessories.
Confusing a vapor barrier, a variable-diffusion membrane, and an anti-condensation film can produce effects opposite to what's intended. The choice depends on the roof structure and the assembly's ability to dry out. In renovations, where the existing layers aren't always known, this decision is worth verifying technically before purchasing.
4. Ignoring air tightness
An attic can have a lot of insulating material and still be cold if air circulates through the joints. Drafts through outlets, corners, around skylights, service penetrations, or membrane seams carry heat and moisture much faster than normal vapor diffusion.
Air tightness is one of the best investments for reliable, predictable performance. This doesn't mean the home no longer breathes. Proper room ventilation is achieved in a controlled way, through windows, ventilation systems, or heat recovery units, not through hidden cracks in the roof.
For good results, plan cable and pipe routes before closing up the walls. A service cavity between the membrane and the interior cladding reduces penetrations and allows later work without compromising the seal.
5. Missing ventilation space and misuse of the underlay film
Under the roof covering, water can come from wind-driven rain, drifting snow, or condensation forming on the underside of the covering material. A correctly installed breather membrane helps evacuate vapor to the outside and protects the insulation from accidental moisture.
The problem arises when the roof's necessary ventilation path is blocked, or when the insulation is pushed directly against the underlay membrane, without respecting the detail required by the building system. Some roofs allow contact with certain highly vapor-permeable membranes, others need a clear ventilated gap. There is no universal rule valid for every film and every roof covering.
Always check the compatibility between the breather membrane, the sheathing type, the ventilation space at the eaves, and air evacuation at the ridge. Incomplete ventilation can keep moisture in the structure even when the insulation itself is correctly chosen.
6. Compressing the wool and aggressively stuffing gaps
Fibrous materials work through the air trapped in their structure. When wool is compressed too much to fit into a space that's too small, the usable thickness drops and the real thermal performance changes. Just as problematic is installation with gaps between panels or batts, especially around rafters and at wall junctions.
Insulation must be cut precisely so it sits firmly without being crammed in. In difficult areas, such as edges, skylights, and structural penetrations, the details must be executed patiently. A few uninsulated centimeters in a repeated area can reduce perceived comfort far more than their apparently small surface suggests.
7. Neglecting skylights and service penetrations
Skylights are valuable for natural light, but also high-risk zones for air leaks and thermal bridges. Insulation must continue up to the window frame, and the interior sealing must connect correctly to that frame. The finish matters too: the top of the opening is usually finished horizontally, and the bottom vertically, to support warm air circulation along the glass.
The same care is needed for chimneys, HVAC ducting, pipes, and recessed spotlights. Respect the safety clearances from hot elements and don't interrupt the sealing layers without a dedicated solution. A quick installation can hide vulnerable points that only become visible after the first cold season.
A safer work sequence for attics
A predictable project starts with measurements and identifying the existing layers. Then the goal is set: a permanently livable attic, an occasionally used room, or an unheated attic. This distinction is essential, because the zone that must be included within the thermal envelope isn't the same in every case.
After checking the roof and ventilation, the thermal insulation is chosen based on thickness, Lambda value, moisture behavior, sound insulation needs, and available space. Next comes gap-free installation, fitting the right membrane on the correct side, carefully sealing all overlaps, and creating a service cavity before the finish.
For homeowners who want a coherent solution, not just rolls or boards bought separately, a correctly configured attic package reduces the risk of incompatibility between materials. Isoflect can help match the thermal insulation, membranes, and sealing accessories to the concrete details of the project.
When it's worth requesting a technical check
Ask for a recommendation before installation if the roof has sheathing, if you don't know the type of the existing film, if the attic has had condensation or mold, if you're replacing the roof covering, or if you're installing new skylights. It's also useful when converting an unheated attic into a livable space, since the right strategy changes as the thermal envelope moves.
Clear photos of the structure, the dimensions between the rafters, the available thickness, and information about the roof allow for a more accurate recommendation than a choice made purely on price per square meter.
Absolute comfort in an attic doesn't start with the finish, but with a correct detail hidden behind it. Choose each layer for its real function, seal carefully, and treat moisture as a design parameter, not as a problem to be solved after it appears.